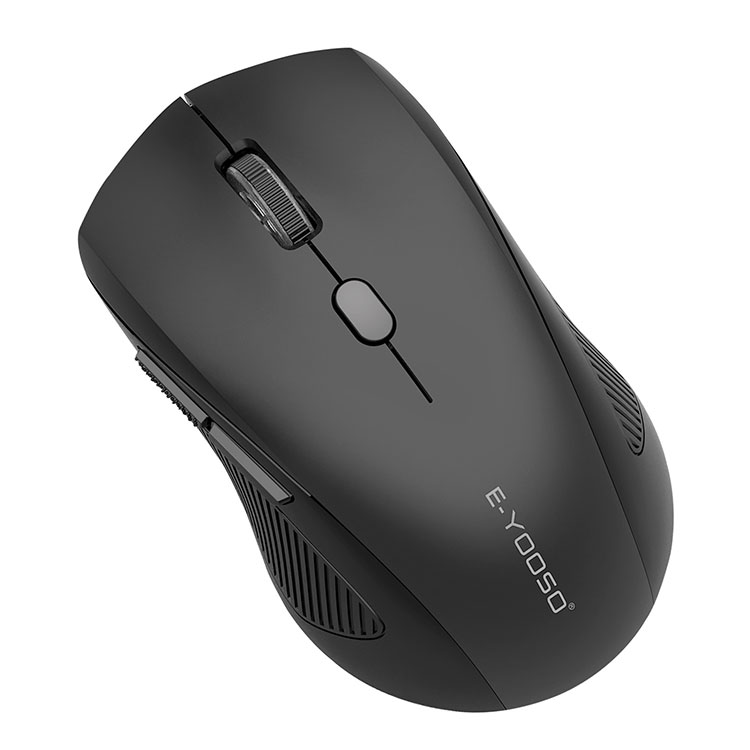
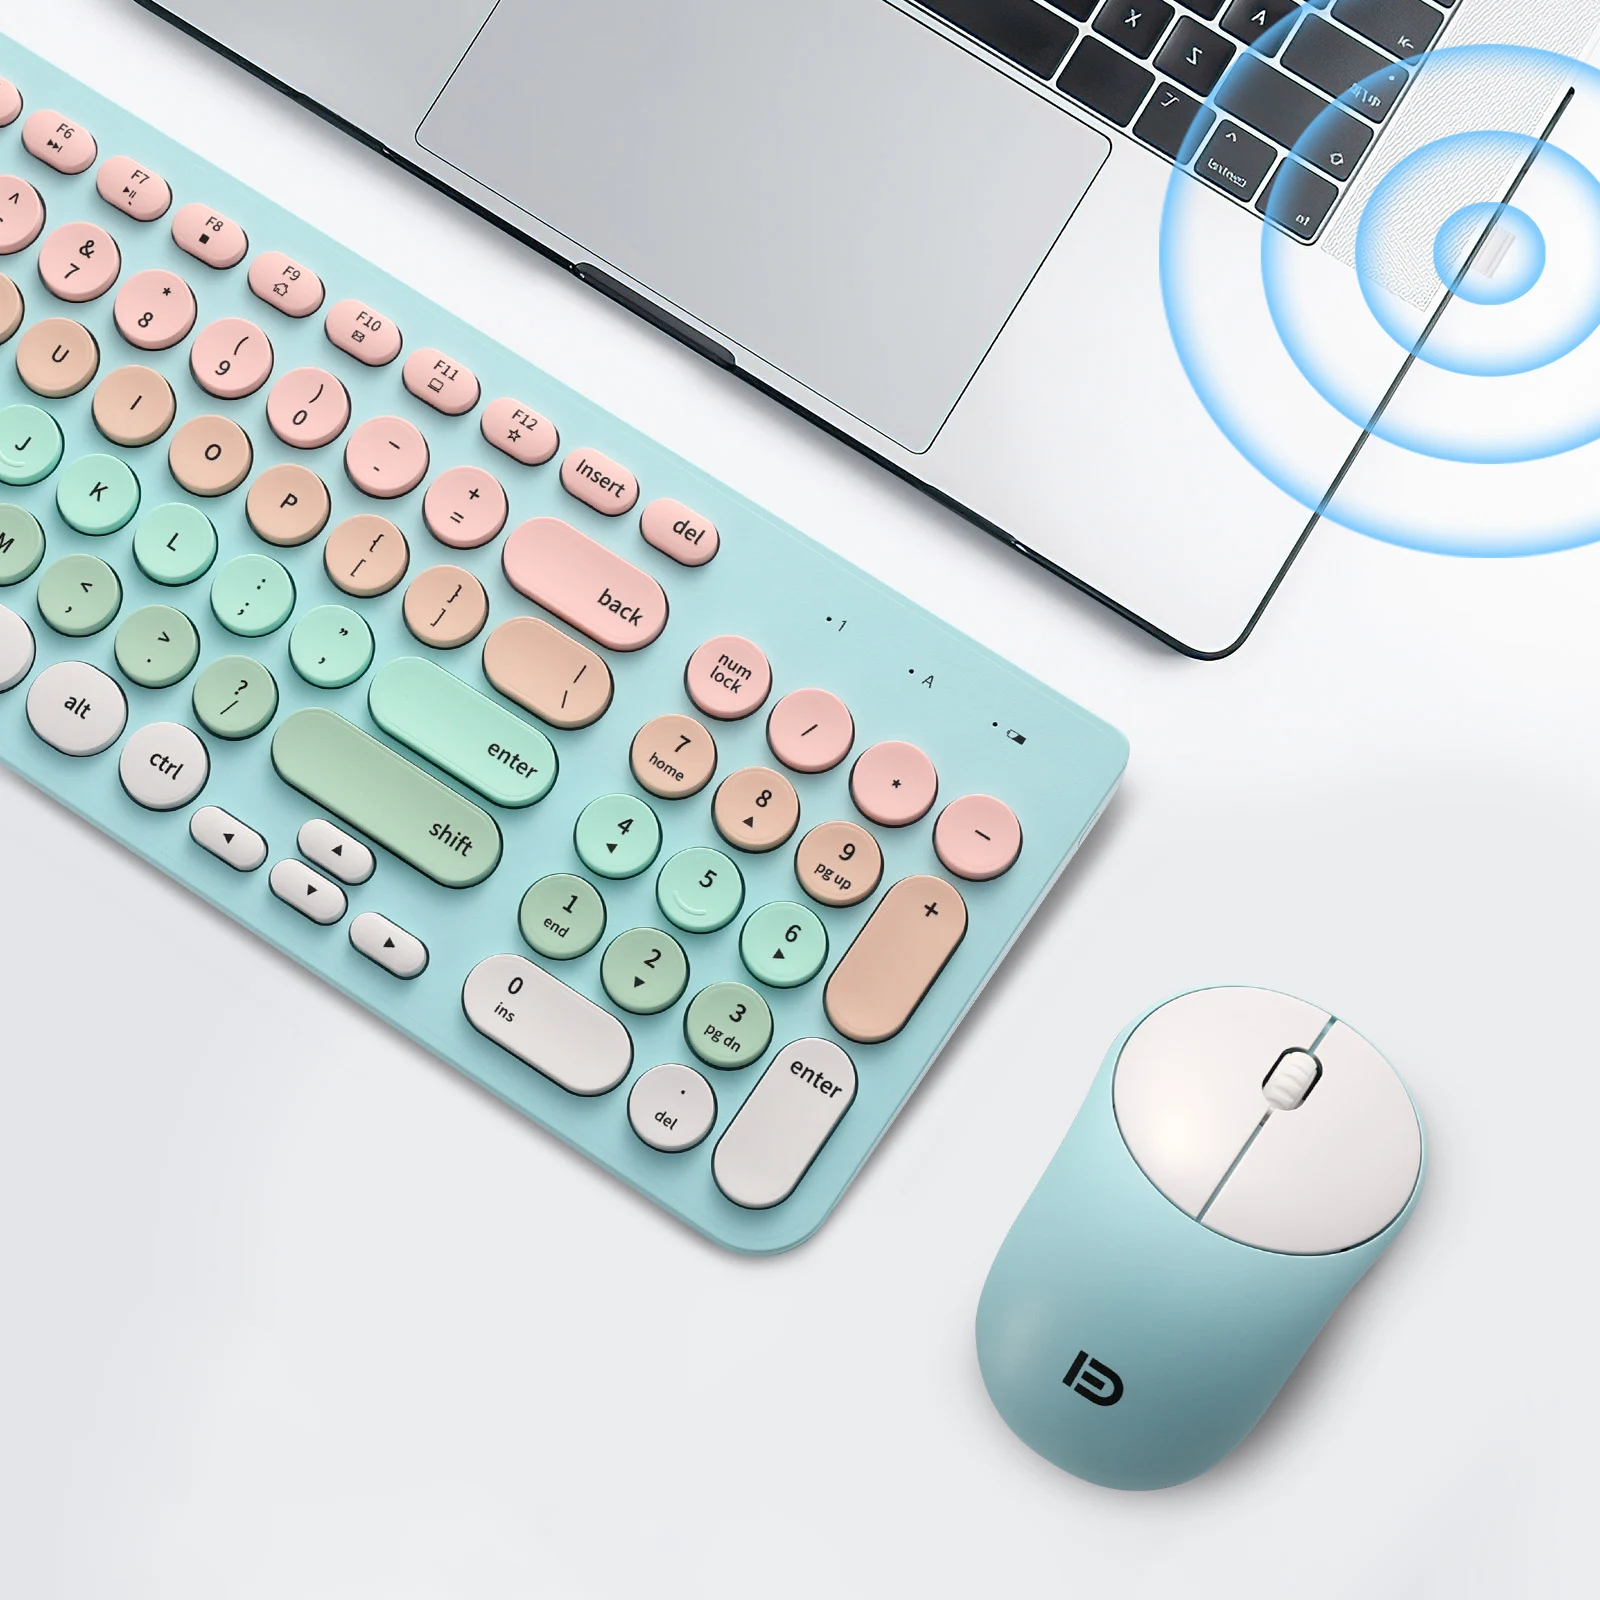
The first step to using your gaming mouse is plugging it in. Most gaming mice are USB, so simply plug the USB cable into an available port on your computer.
2. Install Drivers
Once you've plugged in your mouse, your computer should recognize it and you should be able to start using it right away. However, to get the most out of your gaming mouse, you may want to install the manufacturer's drivers. These drivers will allow you to customize your mouse's settings, such as sensitivity and button functions.
3. Customize Your Mouse
After installing the drivers, you can customize your mouse to your liking. Most gaming mice have software that will allow you to adjust the DPI (dots per inch) and polling rate. DPI refers to the sensitivity of the mouse, while polling rate refers to how often the mouse sends signals to your computer. Both of these settings can greatly affect your mouse's performance, so it's worth taking the time to find the settings that work best for you.
4. Learn Your Mouse's Buttons
Gaming mice often come with extra buttons that can be programmed to perform certain functions. Take the time to learn what each button does so that you can use them effectively in your games. For example, you might program one button to reload your weapon and another to switch to your secondary weapon.
We use cookies to offer you a better browsing experience, analyze site traffic and personalize content. By using this site, you agree to our use of cookies.
Privacy Policy